
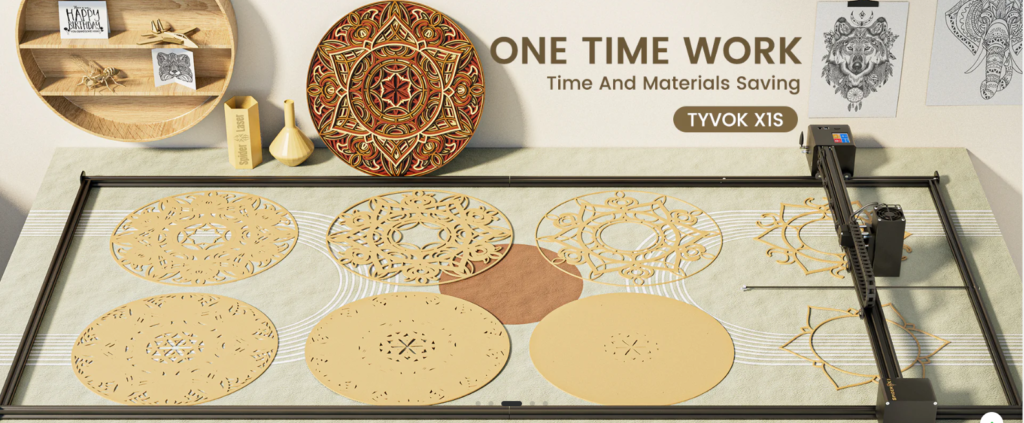
In the world of crafting, the Tyvok laser cutter has emerged as a revolutionary tool that empowers creators to explore new dimensions of artistry and design. Whether you’re a seasoned artisan or just starting your creative journey, Tyvok’s laser cutting technology can transform your ideas into stunning reality. In this blog post, we’ll explore five exciting DIY projects you can tackle with your Tyvok laser cutter, unlocking a realm of possibilities for your creativity.
1. Customized Home Décor: Engraved Wall Art
Creating Unique Pieces for Your Space
One of the most rewarding projects you can undertake with a Tyvok laser cutter is creating custom wall art. Imagine adorning your walls with personalized designs that reflect your style or commemorate special moments.
Materials Needed:
- Wood or acrylic sheets
- Design software (like Adobe Illustrator or LightBurn)
- Paint or stains (optional)
- Mounting hardware
Steps:
- Choose Your Design: Start by selecting or creating a design that resonates with you. This could be a quote, abstract pattern, or even a family crest.
- Prepare Your Material: Measure your wall space and cut your wood or acrylic sheets to the desired size using your Tyvok laser cutter.
- Engrave the Design: Load your design into the laser cutter and adjust the settings based on the material thickness and type. Engage the laser cutter to engrave your chosen design onto the surface.
- Finishing Touches: After engraving, you can paint or stain the piece to enhance its aesthetic.
- Display: Use mounting hardware to hang your artwork on the wall, adding a personal touch to your home décor.
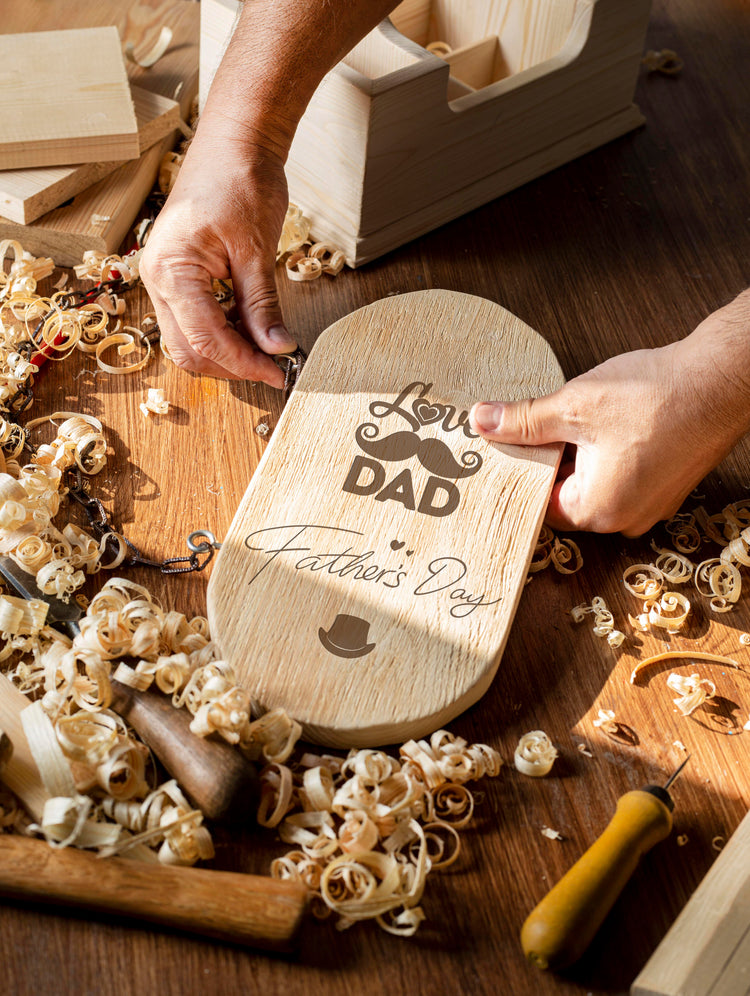
2. Personalized Gifts: Custom Engraved Items
Thoughtful Presents for Any Occasion
Tyvok laser cutters allow you to create thoughtful, personalized gifts that your friends and family will cherish. Engraved items like keychains, coasters, and picture frames make for memorable presents.
Materials Needed:
- Wood, acrylic, or leather blanks
- Design software
- Gift wrapping supplies
Steps:
- Select the Item: Choose an item to engrave, such as a wooden keychain or a leather wallet.
- Design Personalization: Use design software to create or choose a design, incorporating names, dates, or messages.
- Engrave: Set your laser cutter to engrave your design onto the item. Ensure the settings match the material type for optimal results.
- Wrap It Up: Once complete, wrap your gift in creative packaging for a polished presentation.
- Present with Love: Give your handmade gift with pride, knowing it carries a personal touch.
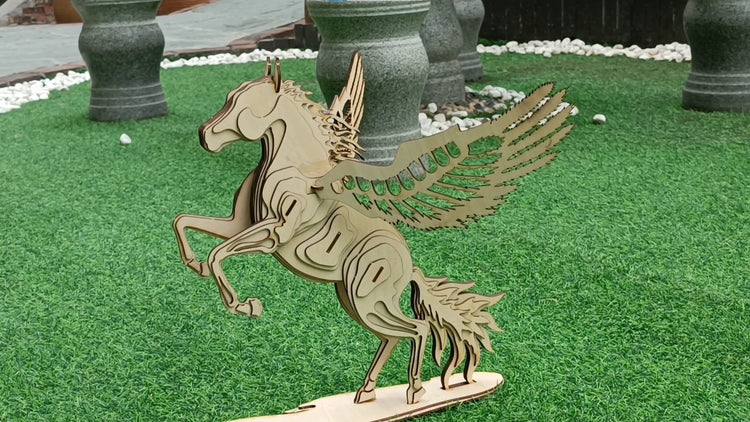
3. Fashion Forward: Laser-Cut Jewelry
Create Statement Accessories
With the right design, Tyvok laser cutters can help you create stunning jewelry pieces that stand out. From earrings to pendants, the possibilities are endless.
Materials Needed:
- Acrylic sheets or wood
- Jewelry findings (earrings hooks, chains, etc.)
- Design software
Steps:
- Design Your Jewelry: Create unique jewelry designs, considering geometric shapes or intricate patterns.
- Cut the Pieces: Use your Tyvok laser cutter to cut out the designs from your chosen material.
- Assemble Your Jewelry: Once cut, attach findings to your pieces to transform them into wearable art.
- Finish with Polish: Sand edges for a smooth finish, and if using acrylic, consider adding a glossy polish for shine.
- Show Off Your Style: Wear your handmade jewelry or gift it to a friend to flaunt your creativity.
4. Fun and Functional: Customized Phone Cases
Stylish Protection for Your Devices
Give your phone a makeover with a customized laser-cut phone case. It’s not only a practical project but also a chance to express your personality.
Materials Needed:
- Acrylic or wood for the case
- Design software
- Phone case template
Steps:
- Choose Your Case Design: Find or create a template for your specific phone model.
- Design the Artwork: Incorporate personal designs, patterns, or even your favorite quotes into the case design.
- Cut the Case: Use the Tyvok laser cutter to precisely cut the case shape from your material.
- Assemble the Case: If using multiple layers, assemble them together, ensuring a snug fit for your phone.
- Enjoy Your Custom Case: Slip your phone into its new protective cover and enjoy the compliments on your unique style.
5. Festive Flair: Holiday Ornaments
Add a Personal Touch to Celebrations
Using your Tyvok laser cutter, create beautiful, personalized ornaments for various holidays. These can be cherished keepsakes or thoughtful gifts for loved ones.
Materials Needed:
- Wood or acrylic sheets
- String or ribbon
- Design software
Steps:
- Select a Holiday Theme: Choose a holiday and design ornaments that reflect its spirit—like snowflakes for winter or flowers for spring.
- Create the Design: Use design software to create intricate patterns or fun shapes.
- Cut the Ornaments: With your Tyvok laser cutter, cut out your designs from the selected material.
- Add Finishing Touches: Consider painting, staining, or adding embellishments to your ornaments.
- Hang and Enjoy: Use ribbon or string to hang your creations on your holiday tree or around your home.
Conclusion
The Tyvok laser cutter is a powerful tool that opens up endless possibilities for DIY projects, allowing you to express your creativity in unique and personal ways. Whether you’re crafting custom home décor, thoughtful gifts, trendy jewelry, stylish phone cases, or festive ornaments, these projects highlight the versatility and capabilities of Tyvok’s technology.
By embracing the art of laser cutting, you can transform ordinary materials into extraordinary pieces that reflect your individuality. So, gather your materials, unleash your creativity, and start crafting your next masterpiece with Tyvok!